In this article
Help us make these docs great!
All rapyuta.io docs are open source. See something that's wrong or unclear? Submit a pull request.
Make a contributionHardware Interfacing
The tutorial will teach you how to deploy a basic non-ROS package that will change the trigger of the on-board LED (ACT/LED0) on Raspberry PI 2 or 3.
Learning objectives
The goal is to learn how to deploy a basic non-ROS package on a Raspberry PI 2 or 3 with docker-compose runtime.
Prerequisites
- Device requirements
- You should have access to a computer with an internet connection.
- Ensure that the Google Chrome browser is installed on the computer.
- Raspberry PI 2 or 3
- You should be familiar with Docker image concept.
Estimated time
15 minutes
Preparing your device
Learn how to prepare your Raspberry PI and on-board the device.
Creating the package
To create led_trigger package, follow the steps:
- On the left navigation bar, click Development > Package.
- Click ADD NEW PACKAGE.
- In the Package Name box, enter the name for the package as
led_trigger - In the Package Version box, type in the version of the package. By default, it is set to 1.0.0
- In the Description box, enter a summary of the package.
- Click NEXT.
- In the Component Name box, enter a name for the component, for example,
led_triggerThe name of a component must consist of alphabets [A-Z, a-z], digits [0-9], hyphen - and an underscore _ character, and must not start with a digit.
- Select Device as Component Runtime.
- Deselect Is ROS Component checkbox.
- Select arm32v7 as Architecture.
- In the Executable Name box, type in a name for the executable , for example,
led_trigger_executableThe name of an executable must consist of alphabets [A-Z, a-z], digits [0-9], hyphen - and an underscore _ character, and must not start with a digit.
- Click Docker for Executable Type as the executable is a docker image.
- In the Docker image box, specify the docker image:
rrdockerhub/led-trigger-arm32v7 - In the Command to run in the docker container box, enter the command
led_trigger led0 heartbeat - Deselect Run command from bash shell.
- Click NEXT > CONFIRM PACKAGE CREATION.
Deploying the package
To deploy a package from the rapyuta.io, follow the steps:
- On the left navigation bar, click Development>Catalog.
- Select the led_trigger package that you just created.
- Click Deploy package.
- In the Name of deployment box, enter a name for the deployment, for example,
LED Trigger Deployment - Since led_trigger has device runtime, you must select the device you want to deploy the component on. Click Refresh the list of online devices to retrieve an updated list of online devices.
- Select the device from the Select device for deploying the component drop-down list.
- Click CREATE DEPLOYMENT > Confirm.
You will be redirected to the newly created deployment’s Details page. The LED Trigger Deployment is successfully running only when the green colored bar moves to Succeeded and Status: Running point indicating that the DEPLOYMENT PHASE is Succeeded, and the STATUS is Running.
You may also analyze the corresponding deployment logs to check if everything is working well.
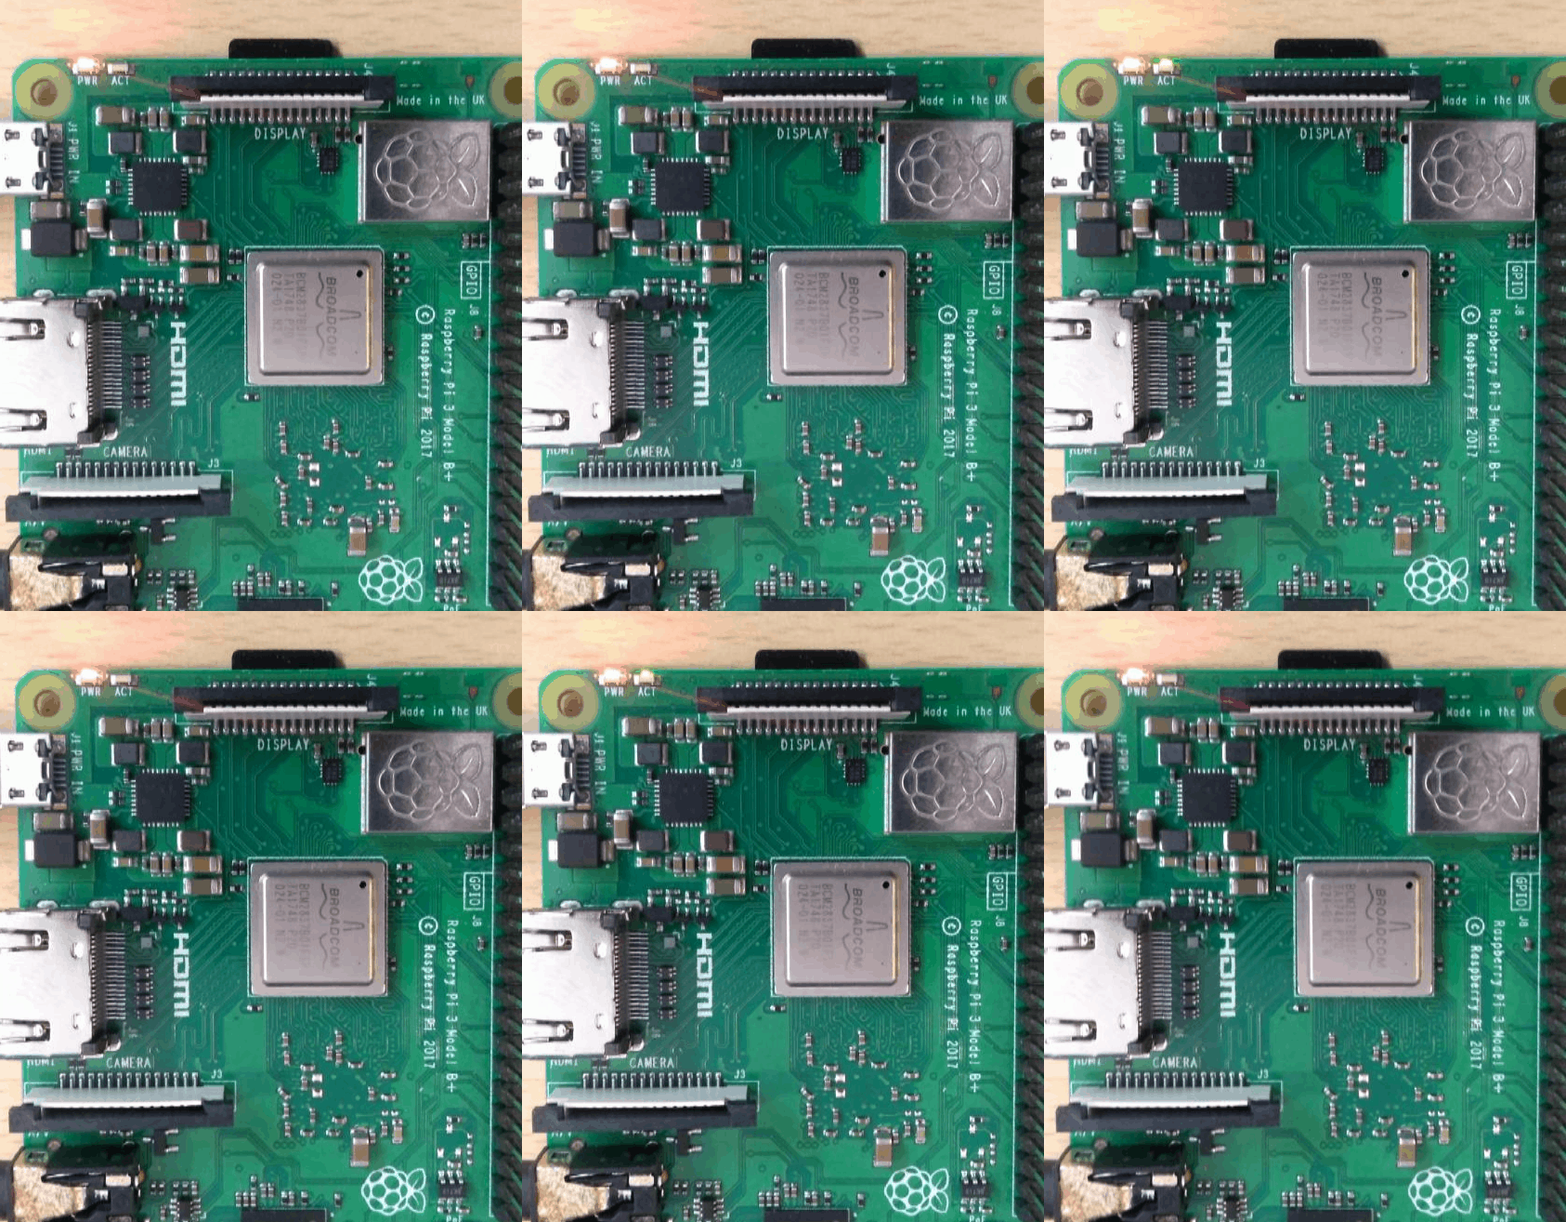
To verify that everything is working correctly, you should observe the trigger of the on-board LED(ACT/LED0) on Raspberry PI 2 or 3 switches to a heartbeat.
